The thing that I most wanted for a Christmas present this year was LED lighting for my sewing machine. And, oh joy!, I go it! The LED light strip, with self-adhesive backing, mounts under the throat of your sewing machine. Once switched on you have lots of light, exactly where you want it!
LED Brightness
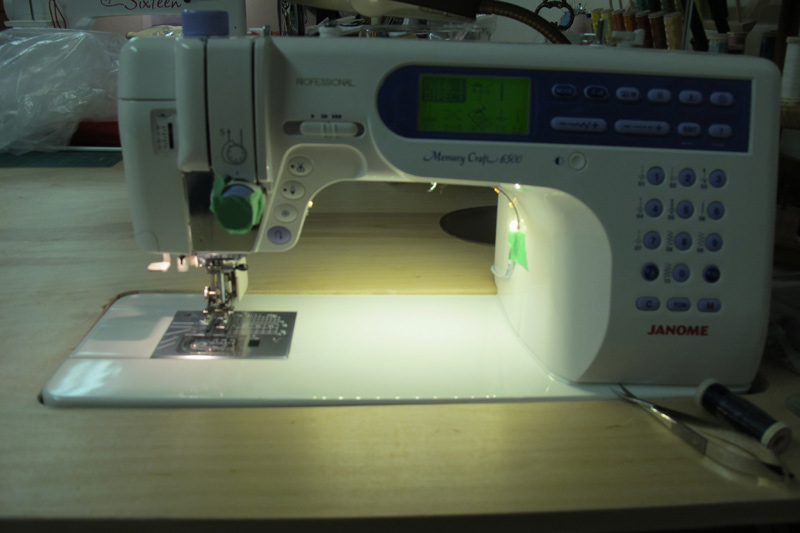
This is the light that I get with the LED lighting! This picture looks dark, as my camera registered all that extra glow. A great improvement from my earlier situation, see below:
 This was my sewing machine before, with just the usual sewing machine light turned on. A pool of light around the needle.

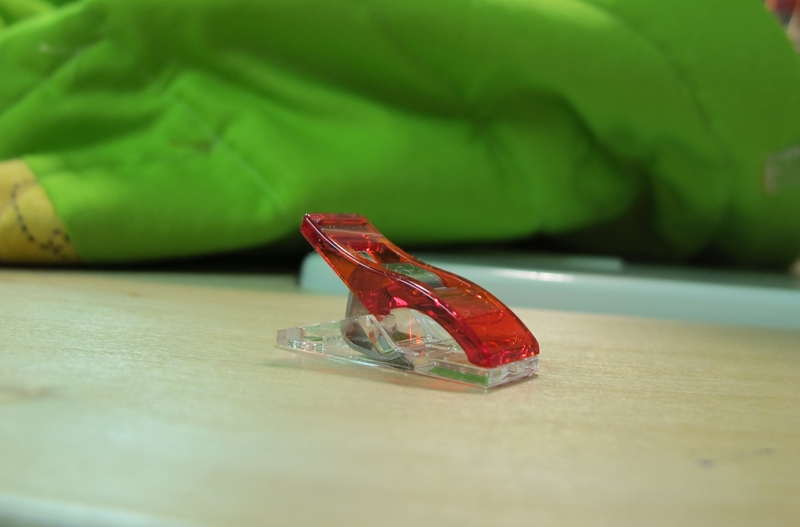
Here is how the LED strip looks on my machine. I have tape holding the connector in place, but will replace this with double-sided tape, placed behind the connector.
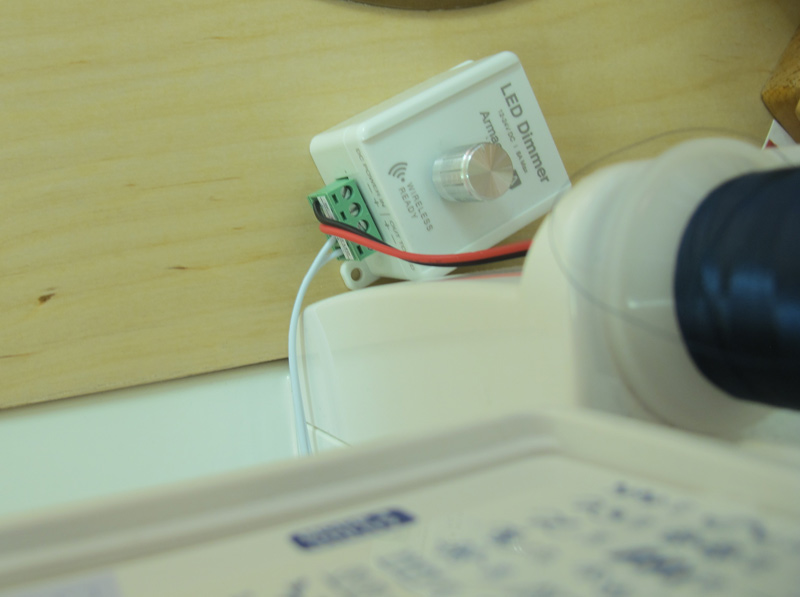
I added a dimmer switch for those times when I don’t need as much light. You could add a regular switch or plug it into a receptacle. The whole setup cost $44.50, before tax, at Lee Valley Tools .
The parts purchased were one foot of LEDs (minimum length you can buy), a lead wire to connect the LED strip to the switch, a dimmer switch and a power supply.
Since I only used half of the light strip on this sewing machine, I have another 6″ to use elsewhere. The cost without the switch was $21.00.
The dimmer switch sits just behind my machine:
And the power supply sits next to the sewing machine.

I am quite pleased with how these lights work! I can now easily see my stitching, but find it especially helpful when I do free motion quilting with light thread on a light background.